Braking systems are arguably the most important safety feature on any ATV or UTV. While everyone enjoys the thrill of acceleration, the ability to slow down or stop is paramount. Modern ATVs and UTVs almost universally feature disc brakes, making their maintenance crucial for safe riding. According to ATV.com, one of the most common maintenance tasks related to disc brakes is replacing the brake pads.
Understanding Disc Brakes
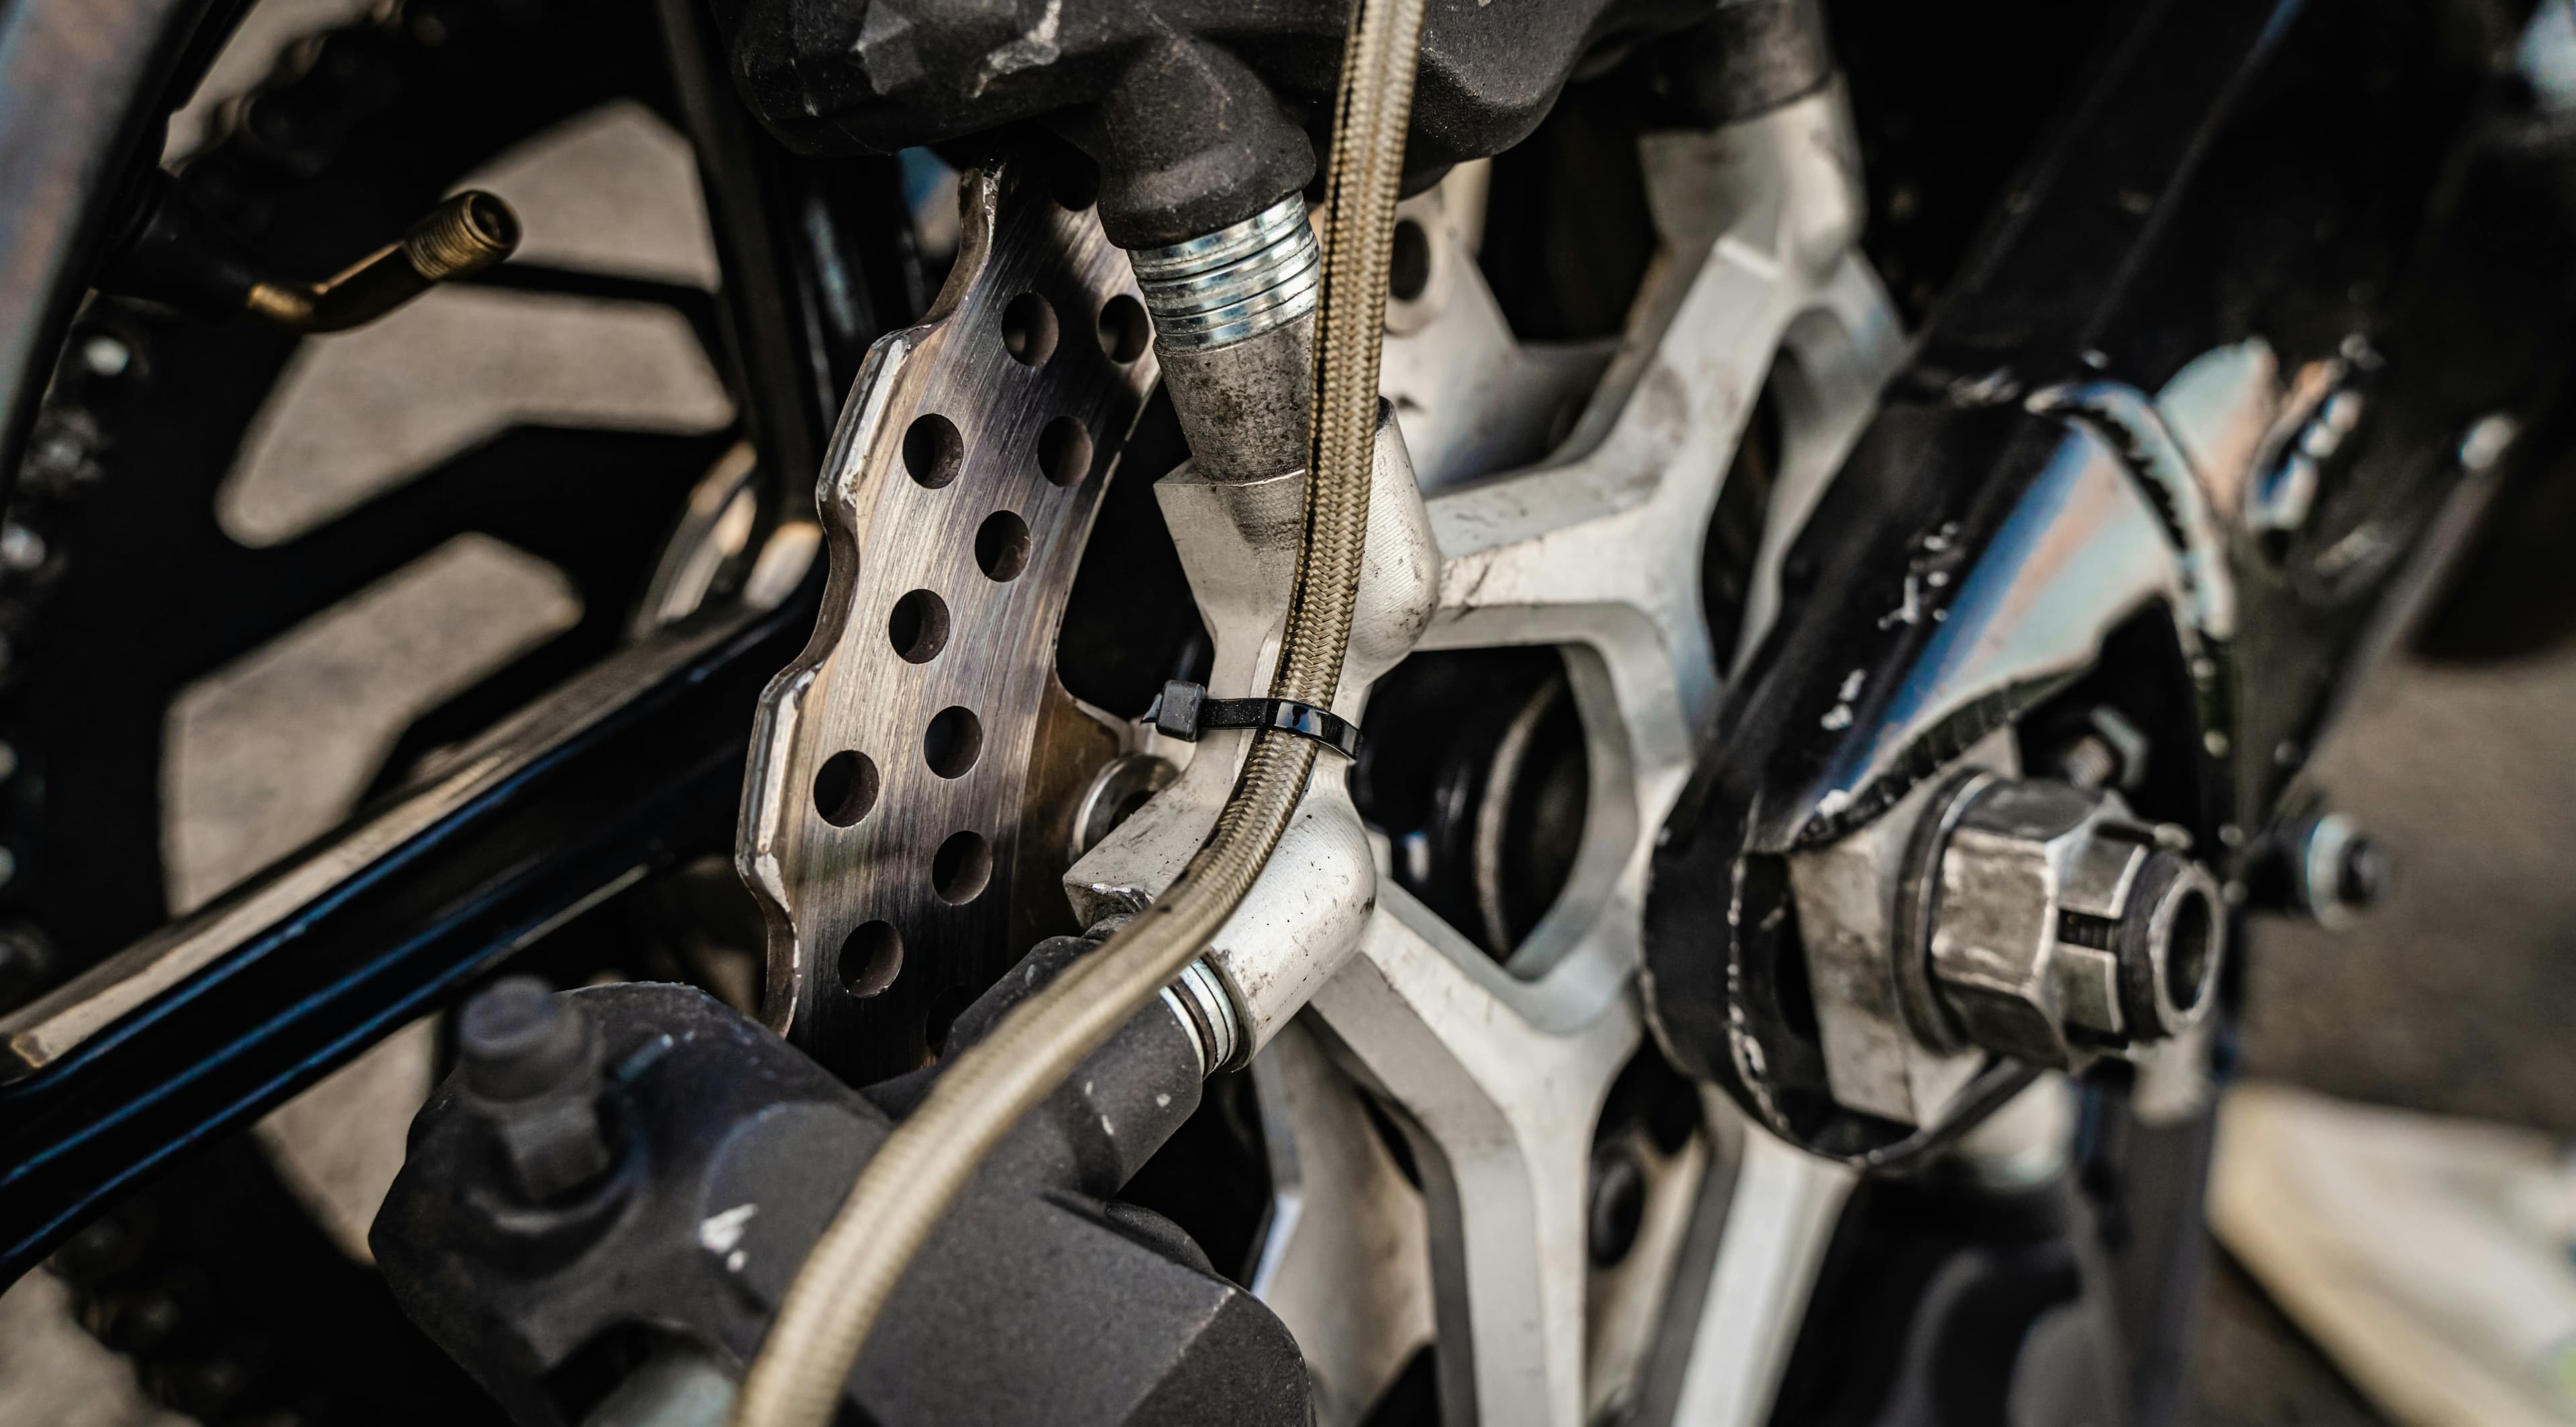
A disc brake system works through friction. Here's a breakdown:
- A metal disc (rotor) rotates with the wheel.
- When the brakes are applied, a caliper squeezes the brake pads against the rotor.
- Hydraulic pressure from the brake lever or pedal forces pistons within the caliper to press the pads.
- The resulting friction slows the rotor and, consequently, the vehicle.
- The friction generates heat, which is why rotors are often vented to improve cooling and allow the rotor to clean itself.
Brake pads consist of a friction material bonded to a metal plate. This friction material wears down over time, necessitating replacement.
Identifying When to Replace Brake Pads
Regular inspection is key. Here are some indicators that it's time for new brake pads, according to ATV.com:
- Uneven Wear: If one pad is significantly thinner than the other, it suggests a potential issue with the caliper.
- Worn Material: If the friction material is almost gone, replacement is necessary.
- Squealing or Grinding Noises: These sounds often indicate that the pad material is worn down, and metal is rubbing against metal.
Replacing Your Brake Pads: A Step-by-Step Guide
Replacing brake pads is generally a simple process. Here's a guide based on the process outlined by ATV.com:
- Purchase Replacement Pads: While aftermarket options exist, OEM (Original Equipment Manufacturer) pads often ensure the best fit.
- Prepare the Vehicle: Loosen the lug nuts on the wheel of the brake you're replacing. Jack up the vehicle, and secure it with a jack stand. Remove the wheel.
- Remove the Caliper: Locate and remove the caliper mounting bolts, which are typically behind the rotor. You might need a pry bar or rubber mallet to gently loosen the caliper if it's stuck. Be careful not to damage any components.
- Inspect the Caliper: Check that the brake pads move freely within the caliper.
- Remove the Old Pads: Remove the caliper pins or slide bolts that hold the pads in place. The pads should then slide out.
- Clean the Caliper and Rotor: Clean any residue from the caliper using a non-harsh cleaner. Wipe down the rotor with contact cleaner and a soft cloth to remove metallic residue.
- Install New Pads: Install the new pads in the reverse order of removal. Reinstall the clips or slide bolts.
- Reinstall the Caliper: Place the caliper back over the rotor, and hand-tighten the mounting bolts.
- Check for Contact: Spin the rotor to ensure the pads aren't in contact when the brakes aren't applied. If there is contact, the pistons may be sticking, requiring you to bleed the brake lines.
- Torque Bolts: Torque the caliper bolts to the manufacturer's specifications.
- Reinstall the Wheel: Reattach the wheel and torque the lug nuts to the proper specification.
- Repeat: Repeat the process for each brake caliper. Consider replacing all brake pads simultaneously for even performance.